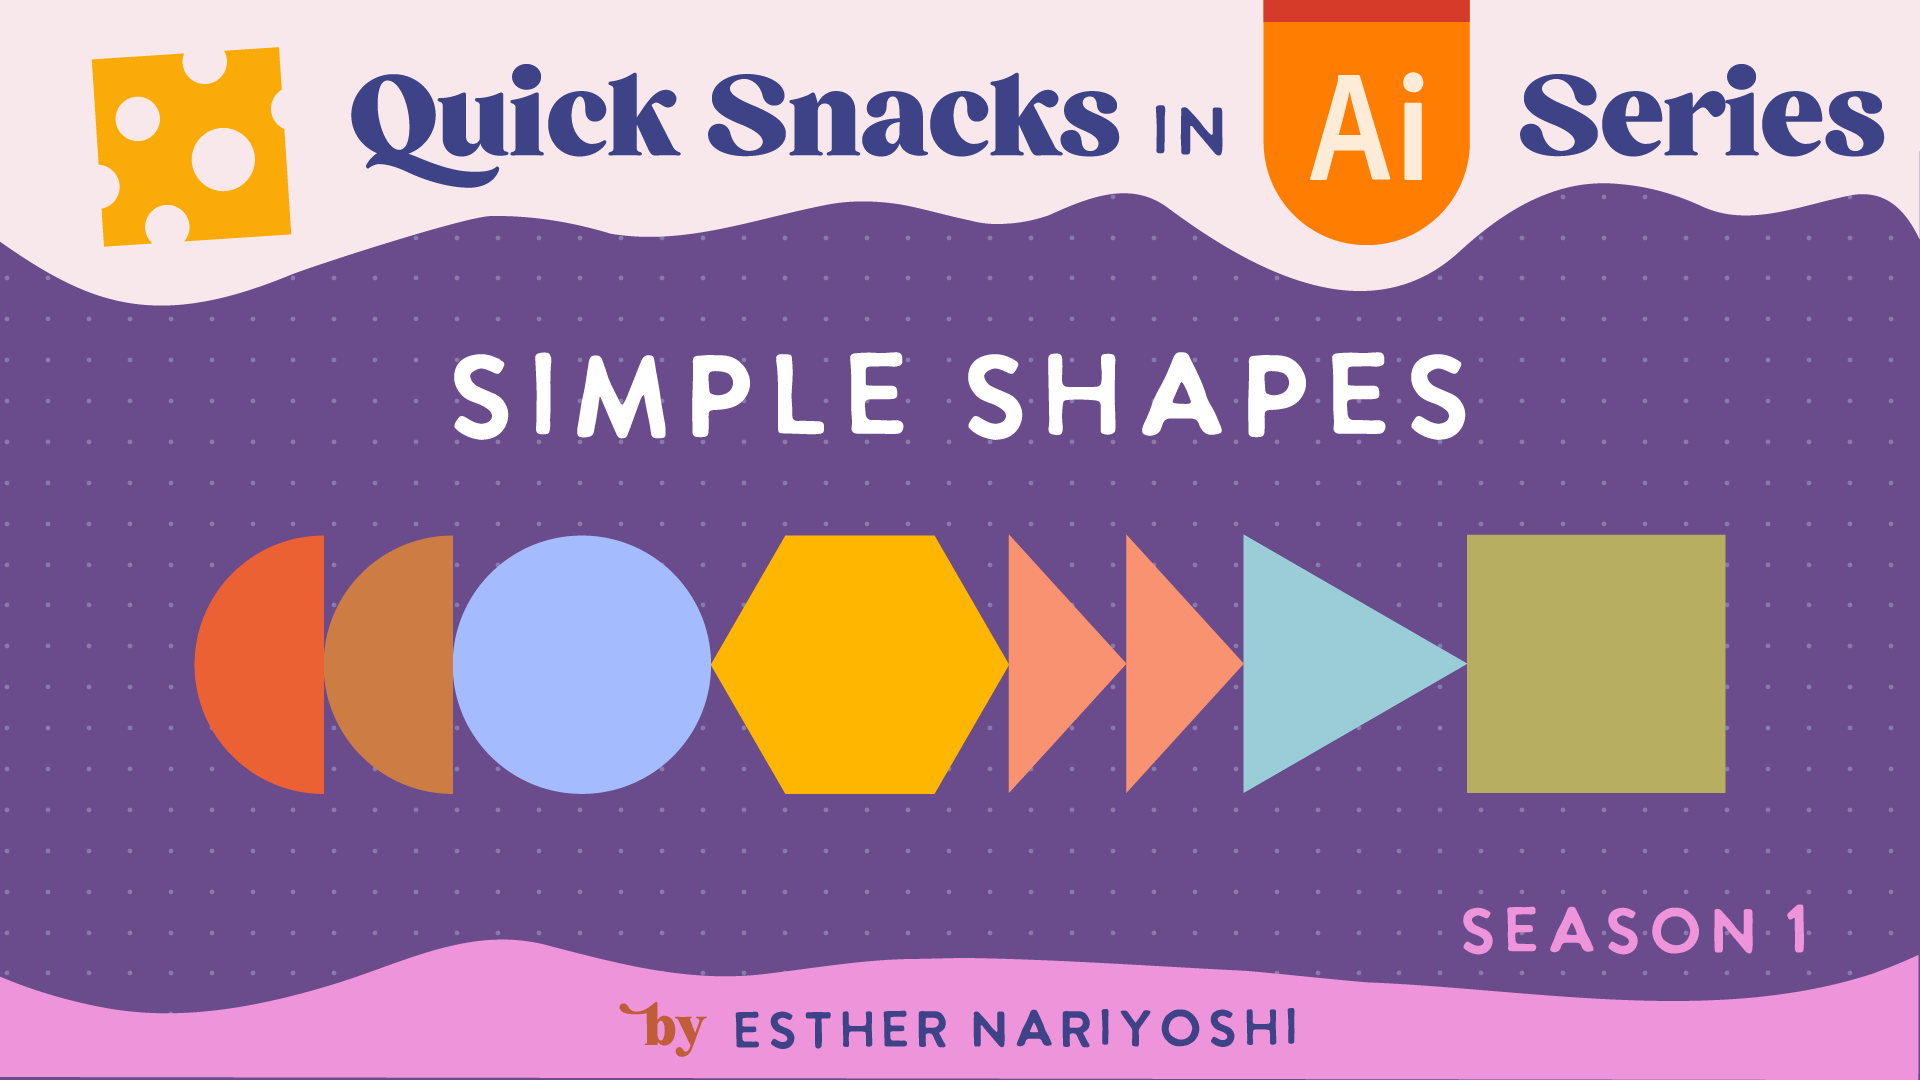
Mastering Shapes in Adobe Illustrator: A Beginner's Guide
Starting out with Adobe Illustrator? It's been my artistic playground for years, and today, I'm thrilled to share a beginner's guide on crafting shapes with you. If you've ever checked out my Skillshare Classes, you'll know I love diving deep and making the process both approachable and fun!
Mastering Shapes in Adobe Illustrator: A Beginner's Guide
Setting the Stage:
Launching Adobe Illustrator:
Open Adobe Illustrator.
Go to
File > Newto start a new project.For this tutorial, set the width to 1920px and the height to 1080px. Remember, the beauty of vectors is you can always resize later without loss of quality!
Finding Your Tool:
Press 'M' on your keyboard to select the rectangle tool.
Hold down 'M' a little longer and a menu will pop up, showing different shape tools you can choose from.
Picking a Color:
Select the shape you've created.
Hit 'I' on your keyboard for the eyedropper tool.
Click on any color on your canvas to apply it to your shape or choose a new one from the color palette.
Crafting Basic Shapes:
Squares and Rectangles:
Click and drag on your canvas to create a rectangle.
Hold down the 'Shift' key while dragging to create a perfect square.
Ellipses and Circles:
Select the ellipse tool by pressing 'L'.
Click and drag to draw an ellipse. To make a perfect circle, hold down the 'Shift' key as you drag.
Polygons:
Choose the polygon tool from the tool menu.
Click and drag on your canvas. To control the number of sides, press the up or down arrow keys while dragging. For a precise triangle, hold the 'Shift' key.
Sprucing Up Shapes:
Softening Edges:
Select the shape you want to modify.
Look for small circles at the corners of your shape, called 'live corners.'
Click and drag these circles inward to round out the edges.
Doubling Up:
Select the shape you want to duplicate.
Hold down the 'Option' (or 'Alt' for Windows) key.
Click and drag your shape to create an identical copy. For precision, use Illustrator's smart guides to help align your shapes.
In Conclusion:
Shapes form the foundation of our designs in Adobe Illustrator. With these hands-on steps, you're poised to unleash your creative potential. Eager for more? Don't forget to check out my deeper dives on Skillshare!
FROM THE AUTHOR
Hi, I am an illustrator and digital brush creator who loves exploring all mediums. I've had the joy of collaborating with some wonderful folks, like Cloud9 Fabrics, and MSU Broad Art Museum, and sharing some tidbits of my creative process through UPPERCASE Magazine. My heart finds joy in food and nature illustrations, and I share my creative process on my YouTube Channel and teach well-designed illustration classes on Skillshare.
Portfolio | Instagram | Pinterest | Digital Brushes | 1:1 Coaching Calls
Skip hours of sifting through generalized tutorials, and enjoy a personalized learning session with a laser focus. In a 1-on-1 session, you will receive personalized instruction on how to elevate your digital illustration to the next level based on your own artistic style and preference using Procreate, Adobe Illustrator, and Photoshop, as well as your paper sketchbook.


