
Alpha Lock, Clipping Mask, Layer Mask: in Procreate and Photoshop
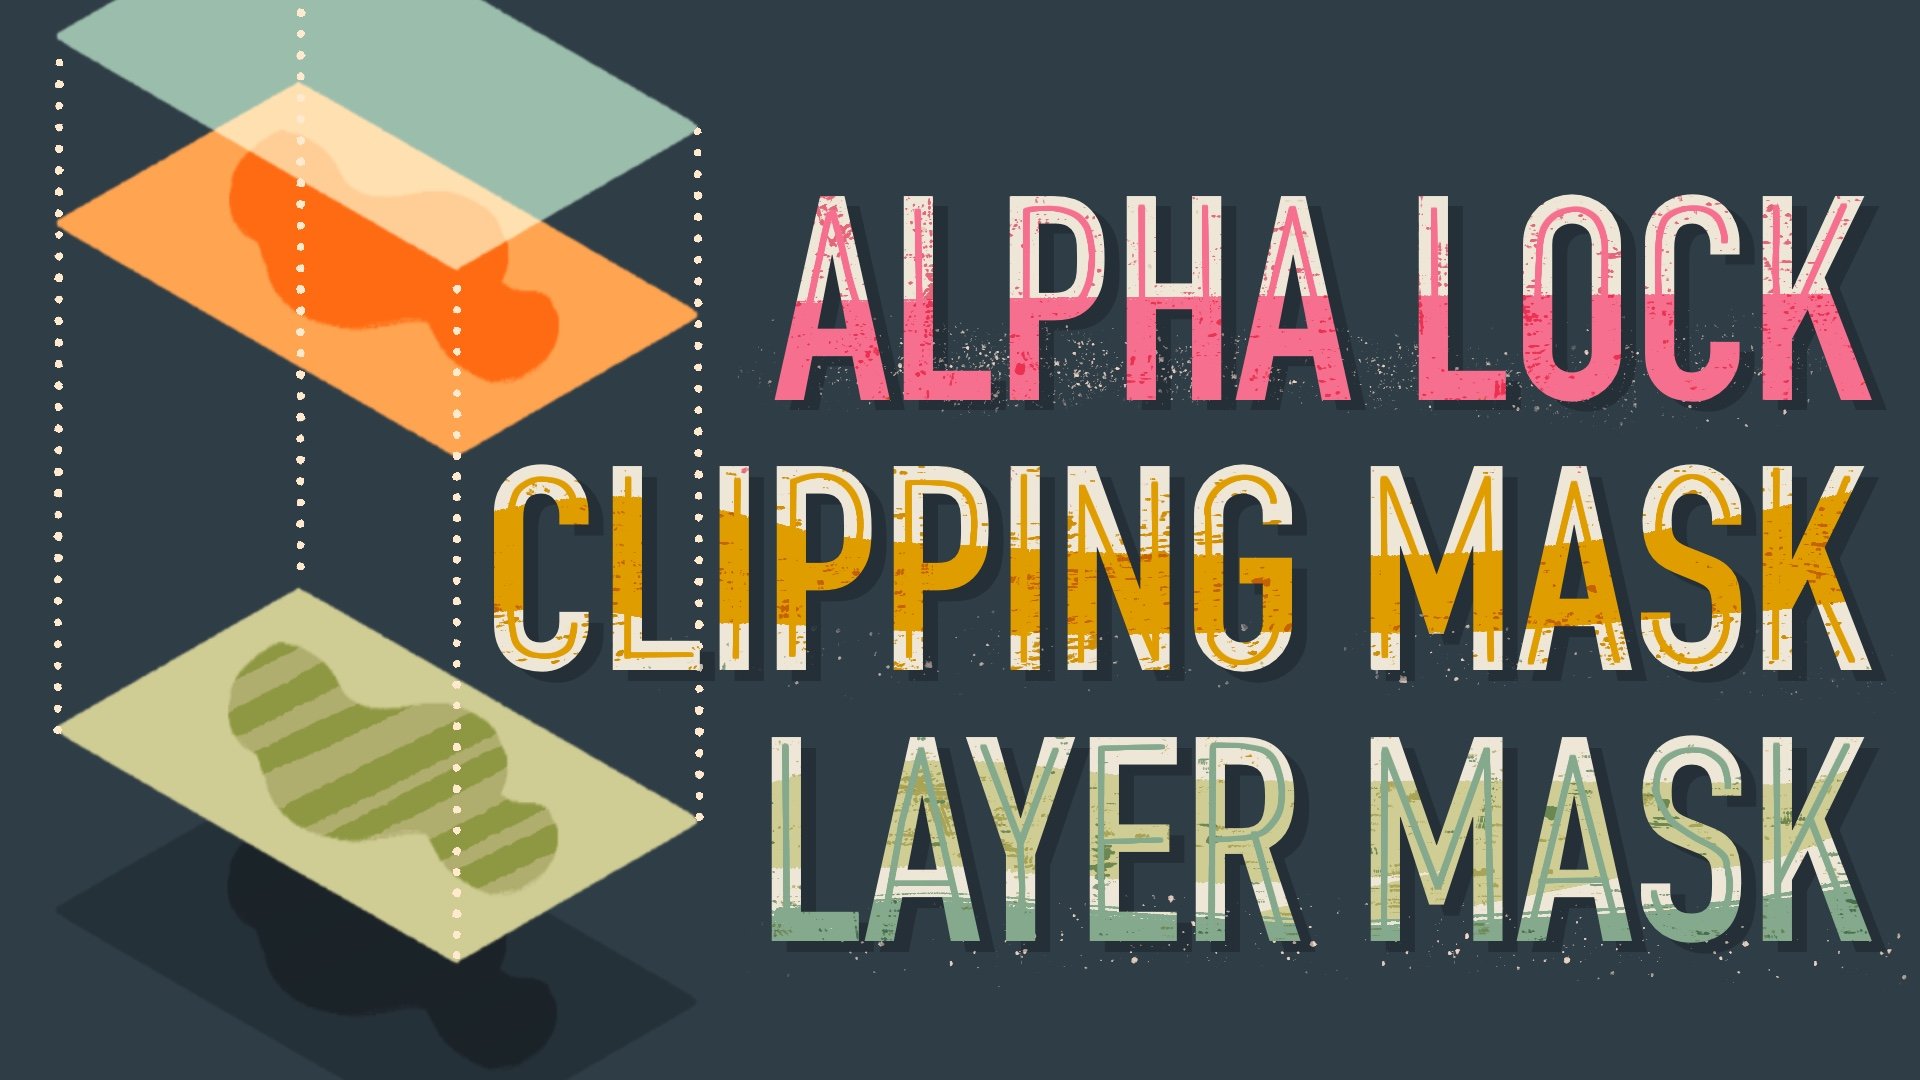
If you have worked with some of the most popular programs like Adobe Photoshop or Procreate on iPad, you have probably heard of the term “Alpha Lock”, “Clipping Mask”, and “Layer Mask”. They are unique in many ways, which sometimes can be confusing, especially when they are used interchangeably to achieve similar effects.
In this post, we are going to take a closer look at each technique, so that you can really understand the pros and cons of each method. For each lesson, I am going to give you a practical and well-rounded definition, as well as hands-on examples, so that you would really experience deep learning, and apply each concept appropriately to your own artwork.
The content of this post is an excerpt from my popular Skillshare class Alpha Lock, Clipping Mask, Layer Mask: in Procreate and Photoshop. Grab this link for a free trial that gives you access to all my classes on digital illustration.
Alpha Lock
https://youtu.be/LjY50DWDkXE
Hey art enthusiasts! It's Esther Nariyoshi here, diving into a realm that can transform your digital art game: the magic of Alpha Lock. I've been exploring Procreate for ages, but what's fabulous is that the concepts I’ll unveil today aren’t just for Procreate users. You can transpose them to Photoshop and several other art programs. So, sharpen your styluses and let’s jump in!
1. Alpha Lock 101: The Basics
What’s in a Name?: Alpha Lock lets you lock the transparency of a layer. Imagine this as placing invisible walls over parts of your canvas.
Stay Inside the Lines: With Alpha Lock activated, you're only permitted to paint or smudge within areas already splashed with color. It’s like a protective boundary that shields areas without paint.
Real-Life Scenario: Imagine sketching on a shaky train journey and never slipping outside your drawing area. That's Alpha Lock for you!
2. Diving Deeper: How Does It Look?
Seeing is Believing: An active Alpha Lock on a beige layer, for example, seems just like normal layer painting. However, the real magic reveals itself when you draw near the edges. You can't trespass the previously painted area, giving your designs a neat, precise finish.
Pixels on Lockdown: All the transparent or unpainted pixels become off-limits. Think of them as the bouncers of your digital canvas.
3. Engaging Alpha Lock: Let's Get Technical
Turning It On: Tap the layer thumbnail and find ‘Alpha Lock’ in the layer option menu. An even swifter method? Swipe left-to-right with two fingers on the desired layer.
Making Adjustments: Want to modify the borders? Temporarily disable Alpha Lock, do your tweaks, then flick it back on. Easy peasy!
4. Practical Application: Watch Me in Action!
Using my own artwork as a demo: Picture the word "LOVE" etched in textured calligraphy, surrounded by fine scratches and petals.
Layer Limitations: With Procreate, sometimes you can max out your layers. Alpha Lock is a savior when you can't add new layers but aren’t willing to compromise existing ones.
Destructive vs Constructive: A tiny caveat - Alpha Lock changes are irreversible after exiting. If you make edits under Alpha Lock, once you leave and return, the alterations become permanent. It’s crucial to be certain before finalizing changes.
Adding Final Touches: With Alpha Lock, I can effortlessly add highlights without worrying about going outside my desired boundaries. It’s like a safety net for precise touches.
5. Alpha Lock vs Layer Lock: Clearing the Air
Layer Lock: It’s the guardian angel for your artwork, preventing any accidental edits. You simply can't make changes until it’s deactivated.
How to Use: A simple left swipe with one finger and a click on 'lock', and voila! Your layer or group remains untouched.
The Core Difference: While Alpha Lock safeguards unpainted sections, Layer Lock keeps the entire layer or group shielded from all edits.
Clipping Mask
What's the Buzz about Clipping Masks?
If you're in the world of digital art and design, you might've come across terms like 'alpha lock' and 'clipping mask'. To put it in simpler words, think of clipping masks as the cooler cousin of alpha lock. Why? Because clipping masks are non-destructive. This means you can always undo or change things without any lasting effect on your artwork, even if you close and reopen your file later on.
Understanding Clipping Masks
In essence, a clipping mask allows you to control the visibility of one layer using the content of another layer. Imagine having a parent layer, and then you place a new layer on top. If you turn the top layer into a clipping mask, anything outside the boundary of the parent layer becomes invisible. But here's the catch - nothing is actually deleted! This is the magic of the non-destructive nature of clipping masks.
Let's Dive Right In!
I’ve put together a quick walkthrough to help you visualize the process:
Starting with the Basics: Open up Procreate and get a simple layer structure ready. For instance, you can have a foliage layer with a basic background color.
Layering Up: Create a new layer above your foliage. Pick a contrasting color and draw a big, fluffy stroke across it. Choose another color and draw a parallel stroke.
Magic of Clipping Masks: Turn this newly created layer into a clipping mask. You'll see that only the areas where your new strokes overlap with the foliage are visible.
Add More Depth: You can add more layers, turn them into clipping masks, and experiment with various colors and strokes. The overlapping areas with the parent layer (in our example, the foliage) determine what's visible.
Retaining Flexibility: Let's say you wanted to change the color of your strokes the next day. Instead of repainting, just add a new layer, turn it into a clipping mask, and drag your desired color onto it. Instant color change!
Blending Modes: The flexibility doesn’t end here! You can play with the blending modes for each layer to get different effects. From 'Multiply' to 'Darken', choose what fits your vision best.
Grouping and Layer Management: Remember, if you delete the parent layer, all the clipping masks will cling to the layer right beneath the original parent layer. You can group layers, but the clipping relationship will be deactivated if you group only the clipping masks.
A Combination of Techniques: While Procreate allows only one degree of clipping masks, you can still combine alpha lock with clipping masks. This means if you want to paint within the boundaries of a specific area, use alpha lock.
Wrapping Up
I hope you found this little guide helpful! If you've enjoyed this, do consider subscribing to my channel. And if you’re keen on diving deeper, check out my Skillshare class on this topic. I cover these techniques in detail, and for those interested, there’s a link in the description that gets you two months on Skillshare for free!
Remember, art is all about experimenting and finding what works best for you. So, grab your stylus and start exploring the wonderful world of clipping masks!
One of the most fascinating elements of digital design is the concept of 'non-destructive editing'. Today, we're diving deep into one such non-destructive technique: Layer Masks. Now, if you're scratching your head wondering, "What's that?", fear not. By the end of this blog, you'll not only grasp the concept but also appreciate its transformative potential in your design workflow.
What is a Layer Mask?
A layer mask is an incredibly versatile tool in digital design. In essence, it allows you to hide or reveal portions of a layer without actually erasing any content. Think of it as a magic eraser that can 'un-erase' anything you've hidden.
Why Use Layer Masks?
The beauty of layer masks lies in their non-destructive nature. If you've ever felt the anxiety of erasing something in a design, only to realize you want it back later, you'll understand the value of a layer mask. Instead of erasing content, you're simply adjusting its visibility. So, if you change your mind later on, the original content is still there, untouched and waiting for you.
Layer Masks in Action
Let's use the app Procreate as our canvas for understanding this. Imagine you have a lottery scratch card. On the very top, there's an opaque layer hiding the lucky number below. When you scratch it off, you reveal the number, but the scratched-off portion is gone forever. In digital design, using a layer mask, we can 'scratch off' to reveal what's below and 'unscratch' it back whenever we want!
Getting Started with Layer Masks
Setup Layers: In your design software (like Procreate), create a layered structure. For our example:
Top Layer (Scratch here): This represents the opaque protective coating.
Middle Layer (Lucky Number): This is what lies beneath, waiting to be revealed.
Bottom Layer (Background): This sets the stage.
Create a Masking Layer: This gives you the power to hide or reveal content. Click on the thumbnail of your top layer (Scratch here) and select 'Mask'. By default, this mask will be colored white, meaning it'll show everything on its parent layer.
Use Colors to Control Visibility: Remember this mantra: White reveals, Black conceals.
Paint black on the mask, and you'll see it acts like an eraser, hiding parts of the layer.
Paint white, and you restore the original look. Voila, 'unscratched'!
Grayscale Effects: You're not limited to just black and white. Any color translates to grayscale when used on a layer mask. This can create varying degrees of transparency, allowing for some stunning effects.
Quick Mask Tips:
Invert Colors: Switch between revealing and concealing quickly by inverting the colors on your mask.
Merge Layers: If you're hitting the maximum layer count, you can merge your mask with its parent layer, freeing up space for more layers.
A Fun Exercise:
Create a beautiful ombre effect with layer masks. With an ombre-colored layer, create a mask and color it black, effectively hiding the ombre. Now, using a white brush, write any word on the mask. As you do, the ombre color will reveal itself in the shape of your word. A quick, fun, digital twist on the watercolor effect!
In Conclusion
Layer masks truly revolutionize how you approach design. With them, you're not just making aesthetic choices, but also preserving the flexibility to change, refine, or completely switch directions later. The next time you're designing, give layer masks a try. Trust me, once you get a hang of it, there's no looking back!
Stay tuned for our upcoming lessons where we'll explore some real-life case studies using layer masks. And yes, all sample files will be available for download. Happy designing!

About the Author
Hi, I am an illustrator and digital brush creator who loves exploring all mediums. I've had the joy of collaborating with some wonderful folks, like Cloud9 Fabrics, and MSU Broad Art Museum, and sharing some tidbits of my creative process through UPPERCASE Magazine. My heart finds joy in food and nature illustrations, and I share my creative process on my YouTube Channel and teach well-designed illustration classes on Skillshare.
Portfolio | Instagram | Pinterest | Digital Brushes | 1:1 Coaching Calls

Skip hours of sifting through generalized tutorials, and enjoy a personalized learning session with a laser focus. In a 1-on-1 session, you will receive personalized instruction on how to elevate your digital illustration to the next level based on your own artistic style and preference using Procreate, Adobe Illustrator, and Photoshop, as well as your paper sketchbook.

Premium Digital Brushes for Artists: Created by an Illustrator, for Illustrators. These expertly crafted digital brushes are designed to enhance your artistic workflow in digital illustration.


Free Procreate Brushes Free Adobe Illustrator Brushes as well as other helpful resources to get you started in digital Illustration