
How to Make Vector Grain Texture in Adobe Illustrator Tutorial
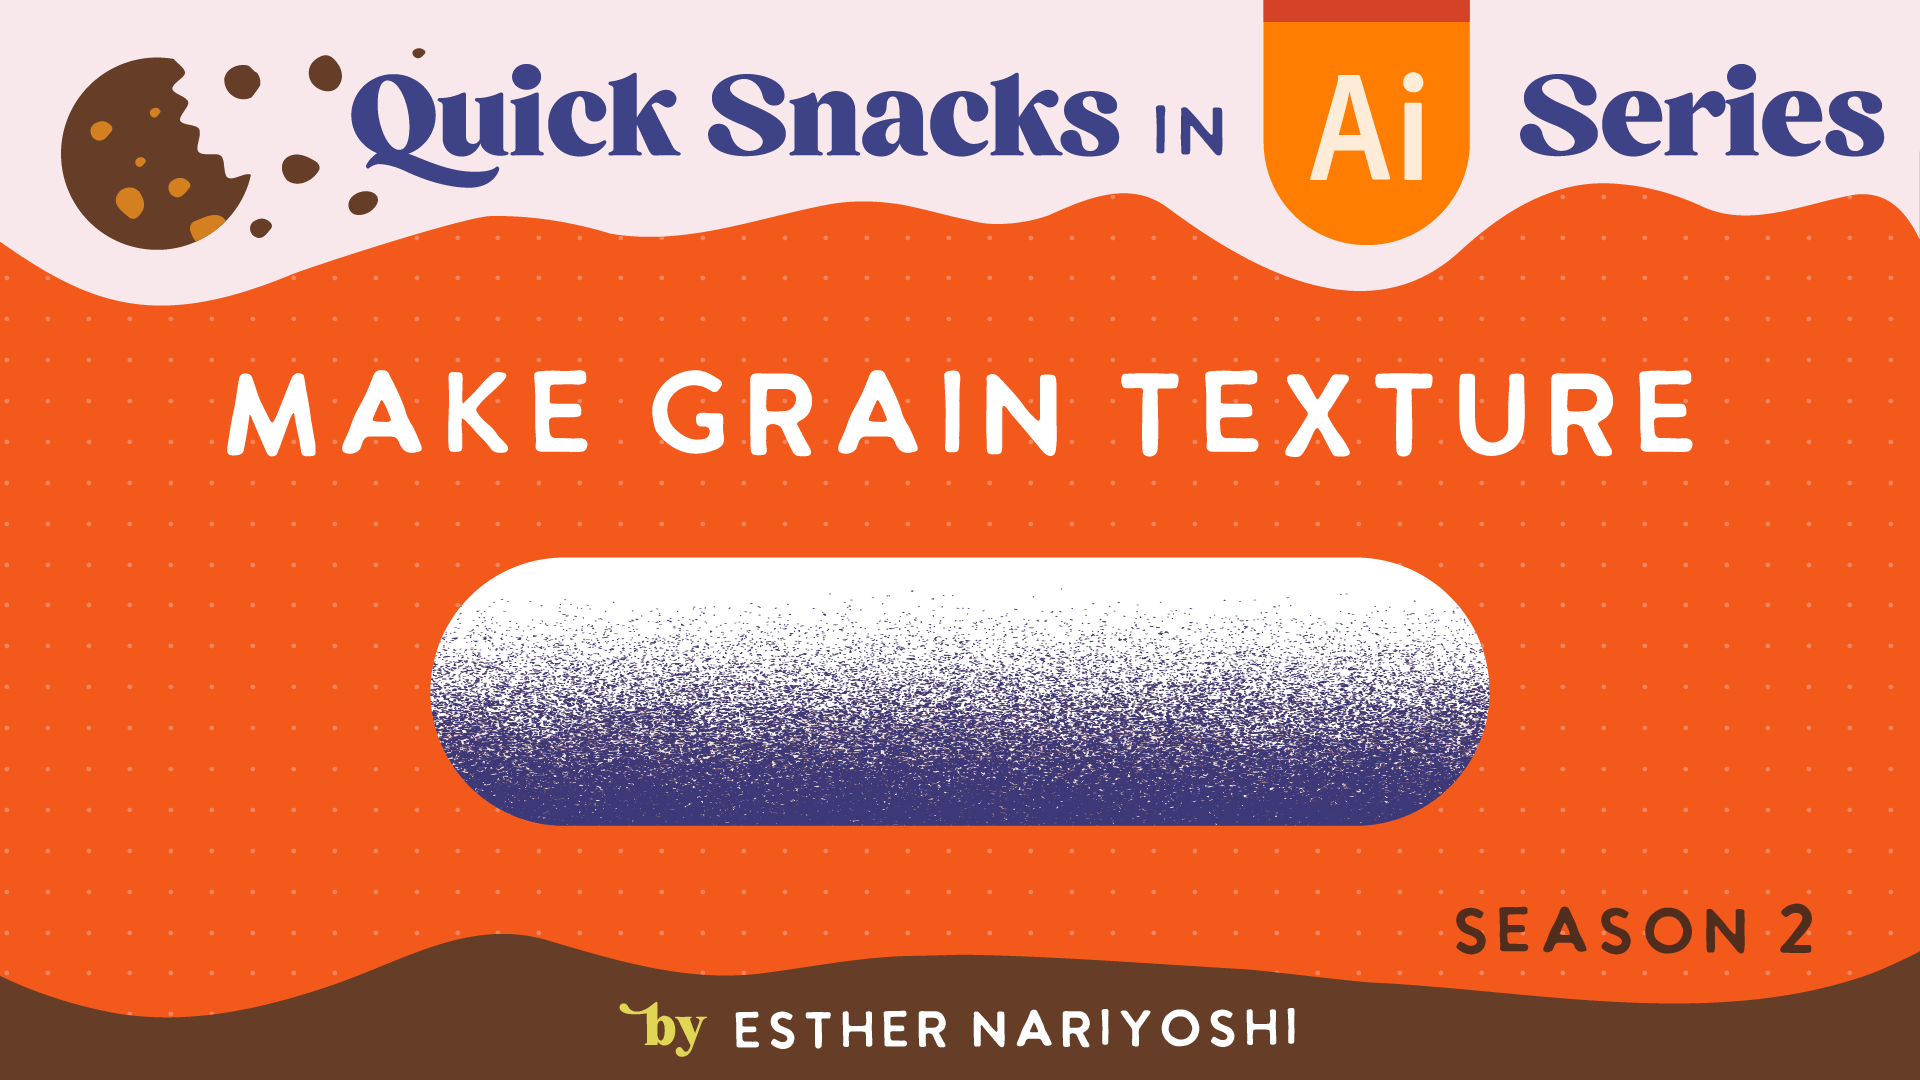
Hello design enthusiasts! Esther Nariyoshi here – an illustrator, designer, and a top teacher on Skillshare. If you're a part of my "Quick Snack Series" family, you know we're all about diving deep into Adobe Illustrator's nifty tools and tricks. Today's tutorial is no different. Join me as we explore the realms of textures, specifically, the grainy kind!
Prelude: Setting Up Your Canvas
Before we jump in, ensure you've opened Adobe Illustrator and have a new canvas ready. A size of 800x800 px works well for this exercise.
1. Lay the Foundation with a Rectangle
Activate the Rectangle tool by pressing M on your keyboard.
Drag across your canvas to form a rectangle that fills the space.
2. Enter the World of Gradients
Time to add depth! Hit G on your keyboard for the Gradient tool.
Either click on the gradient icon on your toolbar or double-click your gradient tool – both work!
Opt for the default gradient slider. This choice initiates a linear gradient transitioning smoothly from black to white.
3. Perfecting the Gradient
Rotate your gradient to a negative 90-degree angle, giving the bottom a deeper hue.
Adjust your gradient's transition point using the diamond icon on the gradient slider. This step decides where your gradient shifts from one shade to another.
For a richer texture, move the darker point slightly forward. This will set the stage for our grainy effect.
4. The Grain Effect – Unmasking the Magic
Navigate to the
Effectmenu.Open the effect gallery and look for the
Texturefolder.Choose the grain effect. Play around with the intensity and contrast sliders. This is where your personal touch comes in – aim for a look that speaks to you.
A tip from the trenches: Different grain types can offer unique effects. For this tutorial, we’re fond of the 'Stippled' effect, but don’t hesitate to experiment.
5. Capture Your Masterpiece
While the rasterize effect is commonly used to flatten the image, let’s adopt a workaround today.
Screenshot your grainy rectangle, ensuring you avoid any background elements.
6. The Art of Tracing
Import your screenshot back into Illustrator.
Use the
Image Traceoption located underWindow.Important: Check the ‘ignore white’ option. This ensures a cleaner trace.
Manipulate the sliders, especially the threshold, to emphasize or soften the grain texture.
Once satisfied, solidify your changes by selecting
Expand.
7. Colors, Masks, and Final Touches
Our journey began with black and white, but colors await! Illustrator allows for a versatile palette switch anytime.
Lay a new rectangle over your texture. Disable its fill, granting you a transparent window to your grainy masterpiece.
Select both layers and use Command + 7 to create a captivating clipping mask. And there it is, your bespoke grainy texture!
Wrapping Up: The allure of a grainy texture lies in its timeless appeal. With Adobe Illustrator, this texture is just a few clicks away. Loved this tutorial? I've got tons more to share. Dive into my Skillshare classes through the link below and grab a free trial. Till our next design escapade, happy illustrating!

FROM THE AUTHOR
Hi, I am an illustrator and digital brush creator who loves exploring all mediums. I've had the joy of collaborating with some wonderful folks, like Cloud9 Fabrics, and MSU Broad Art Museum, and sharing some tidbits of my creative process through UPPERCASE Magazine. My heart finds joy in food and nature illustrations, and I share my creative process on my YouTube Channel and teach well-designed illustration classes on Skillshare.
Portfolio | Instagram | Pinterest | Digital Brushes | 1:1 Coaching Calls

Skip hours of sifting through generalized tutorials, and enjoy a personalized learning session with a laser focus. In a 1-on-1 session, you will receive personalized instruction on how to elevate your digital illustration to the next level based on your own artistic style and preference using Procreate, Adobe Illustrator, and Photoshop, as well as your paper sketchbook.

Premium Digital Brushes for Artists: Created by an Illustrator, for Illustrators. These expertly crafted digital brushes are designed to enhance your artistic workflow in digital illustration.


Free Procreate Brushes Free Adobe Illustrator Brushes as well as other helpful resources to get you started in digital Illustration