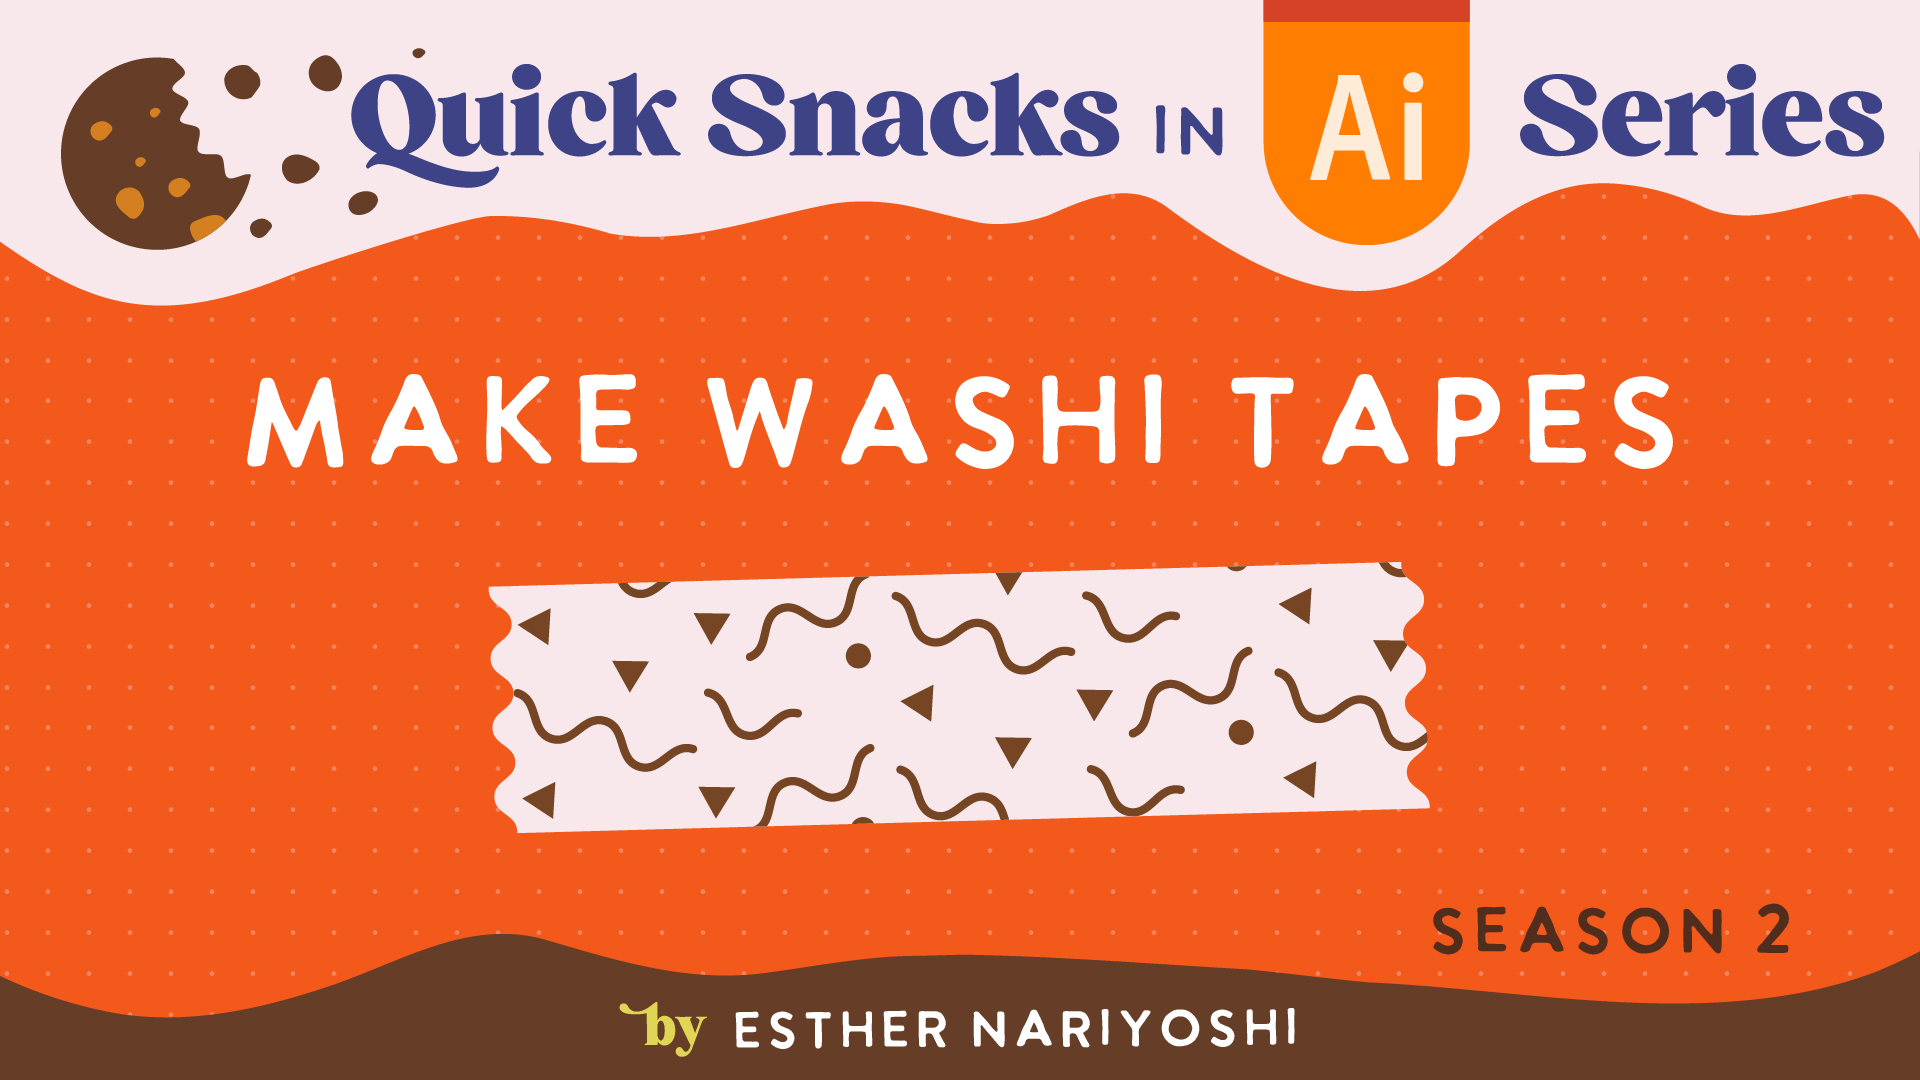
How to Make a Washi Tape in Adobe Illustrator Tutorial
Hey there, fellow creatives! It's me, Esther Nariyoshi, an illustrator, designer, and a top teacher on Skillshare. Today, I'm delighted to walk you through my "Quick Snack Series" where I simplify Adobe Illustrator for designers and illustrators, regardless of their expertise. Our fun project? Crafting an adorable washi tape. Let’s dive right in!
1. Setting the Scene
First off, let's get organized. Remember that adorable village design I showed? We'll use that as our inspiration. Before we start, move any distractions or unnecessary elements off your Illustrator workspace.
2. Getting Basic Shapes Down
Begin with some simple geometric shapes. It's basic, but they’re the foundation of most designs.
Rectangle: Just click on the polygon tool and drag out.
Polygons: To experiment with hexagons or other shapes, play with the up and down arrow keys while using the polygon tool.
Circle: Press "L" on your keyboard and draw. For a perfect circle, hold the shift key as you drag.
3. Crafting the Perfect Squiggly Lines
Select the line segment tool or hit forward slash (/).
Draw a horizontal line. Holding shift ensures it's perfectly horizontal, but that’s your call.
Apply a stroke color and adjust the thickness.
Navigate to Effect > Distort & Transform > Zigzag. Here, you can modify the size and the ridges per segment to get your desired squiggle intensity.
For smoother lines, choose the 'smooth' option, or keep it edgy with the 'corner' option.
Note: Your line might still appear straight. No worries! This is just an effect applied to your path. To get your actual wavy line, go to Object > Expand Appearance.
4. Crafting the Pattern
Duplicate your squiggly line by holding the option key and dragging.
Cut the shape into segments using "C" on your keyboard.
Adjust the shape's size and orientation using the free transform tool (shortcut: "E").
To make a pattern:
Select all your segments.
Head over to Object > Pattern > Make.
In this pattern window, adjust the spacing and add other small elements to ensure an even, balanced look.
5. Applying Your Pattern
Delete any unused elements from your workspace. Draw a new rectangle, select your newly created pattern from the swatch panel and voila – you have a filled pattern!
6. Achieving the Perfect Washi Tape Look
Return to your original rectangle.
Copy the squiggly shape we created earlier, adjust its orientation and position it along the edges of the rectangle.
Use the Shape Builder Tool (shortcut: Shift + M) to merge the necessary shapes and remove unwanted parts by holding option and clicking on them.
Apply your pattern and pick a suitable background color.
Pro tip: If you want to change the color palette of your design, simply select the colors and use the Recolor Artwork tool to tweak them to perfection.
And there you have it - your very own designed washi tape! I hope you found this walkthrough as enjoyable as I did sharing it with you. And if you're curious about more advanced techniques, consider checking out my in-depth classes on Skillshare. I've even got a two-week free trial for you, available in the description below. Happy designing, and see you next time!
FROM THE AUTHOR
Hi, I am an illustrator and digital brush creator who loves exploring all mediums. I've had the joy of collaborating with some wonderful folks, like Cloud9 Fabrics, and MSU Broad Art Museum, and sharing some tidbits of my creative process through UPPERCASE Magazine. My heart finds joy in food and nature illustrations, and I share my creative process on my YouTube Channel and teach well-designed illustration classes on Skillshare.
Portfolio | Instagram | Pinterest | Digital Brushes | 1:1 Coaching Calls
Skip hours of sifting through generalized tutorials, and enjoy a personalized learning session with a laser focus. In a 1-on-1 session, you will receive personalized instruction on how to elevate your digital illustration to the next level based on your own artistic style and preference using Procreate, Adobe Illustrator, and Photoshop, as well as your paper sketchbook.


