Understanding Guides, Grids, and Rulers in Adobe Photoshop with Practical Use Cases
Photoshop's guidelines, grids, and rulers are crucial tools for any designer seeking precision in their work. From aligning text to structuring complex layouts, these tools ensure accuracy and consistency. This guide will explore each tool's utility, offering practical advice and shortcuts to enhance your workflow.
Understanding Guides, Grids, and Rulers in Adobe Photoshop with Practical Use Cases
Understanding Rulers:
Purpose: Rulers help measure and align objects within your design space, offering a reference point for size and positioning.
Activating Rulers: Press
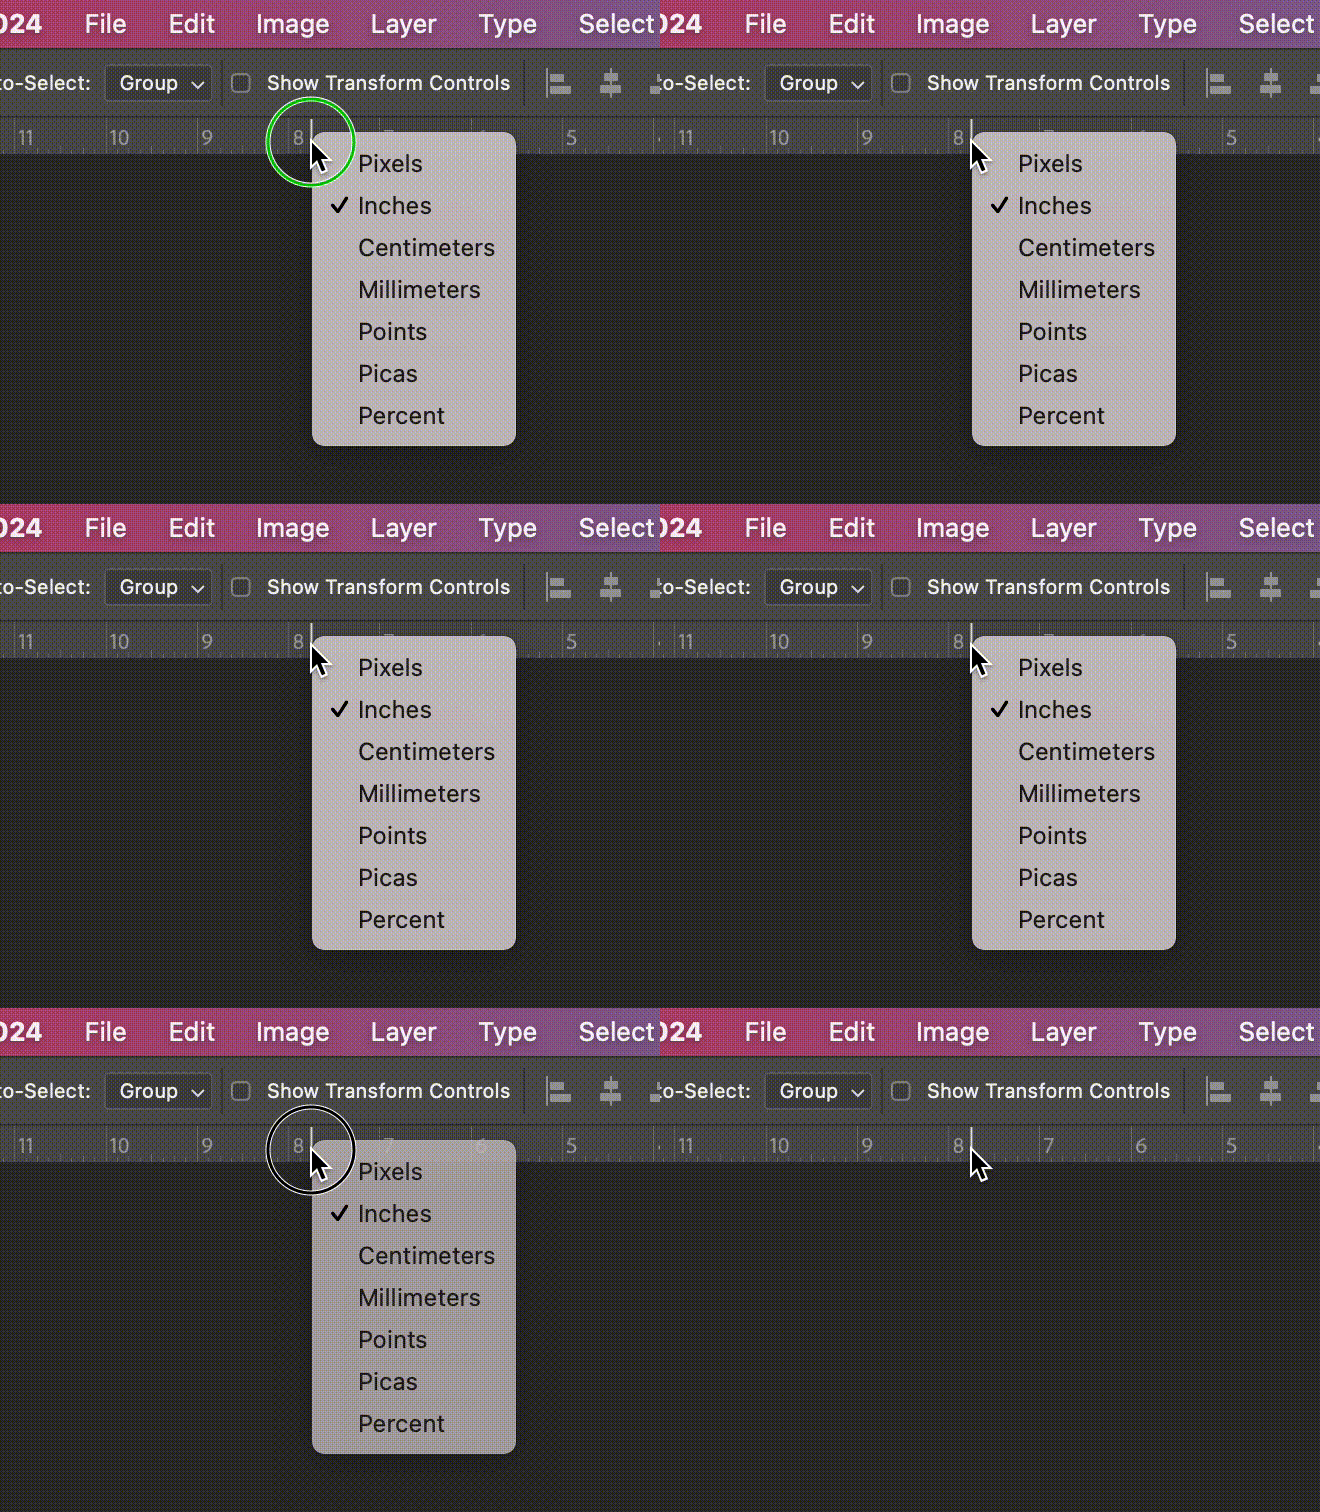
Ctrl + R(Windows) orCmd + R(Mac).Changing Units: Right-click on a ruler to switch between pixels, inches, or centimeters, adapting to various project requirements.
Rulers in photoshop appear at the top and left side
Right click to change the unit of measurement
How customize units and rulers from the Preferences window in Adobe Photoshop
Setting Up Guidelines:
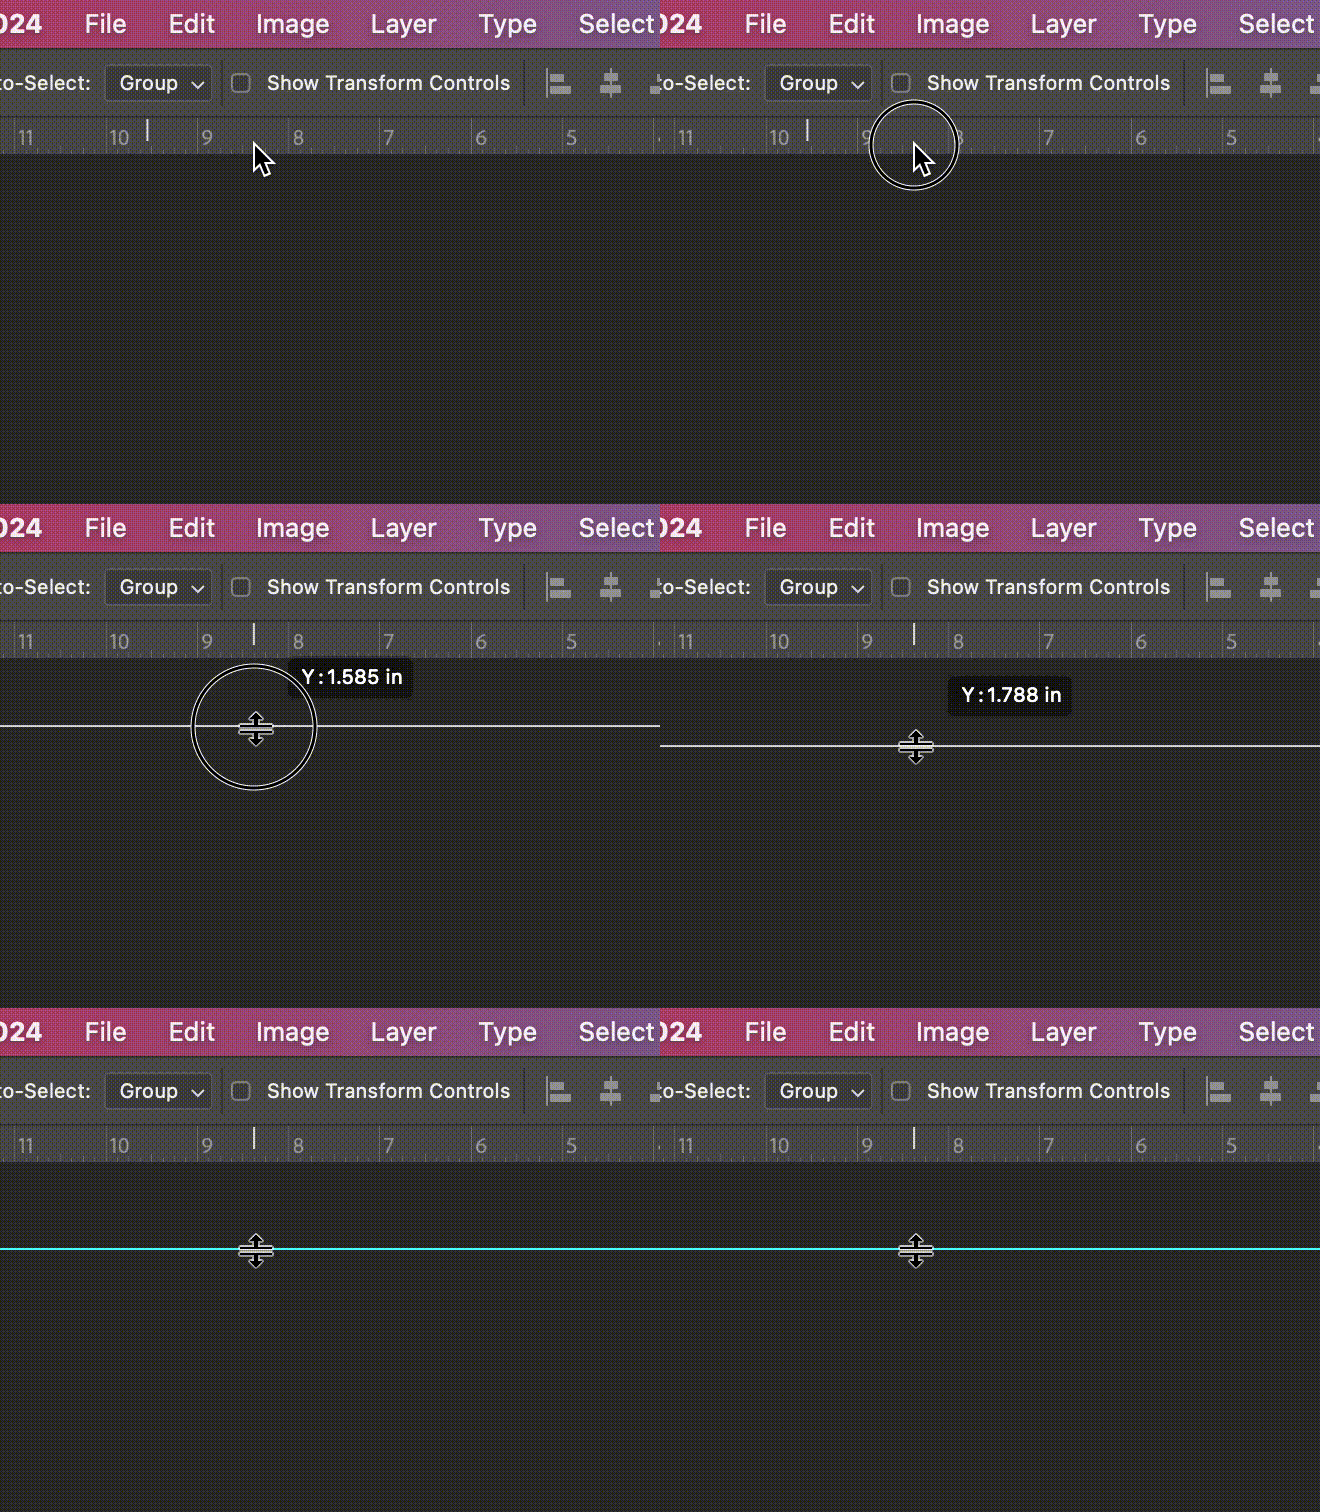
Drag the ruler to create a guide
Purpose: Guidelines provide precise visual references for aligning elements, ensuring consistent positioning across your design.
Creating Guidelines: Drag from a ruler into the canvas to create horizontal or vertical lines.
Moving Guidelines: Use the Move Tool (V) for adjustments. For exact placement,
Ctrl + T(Windows) orCmd + T(Mac).
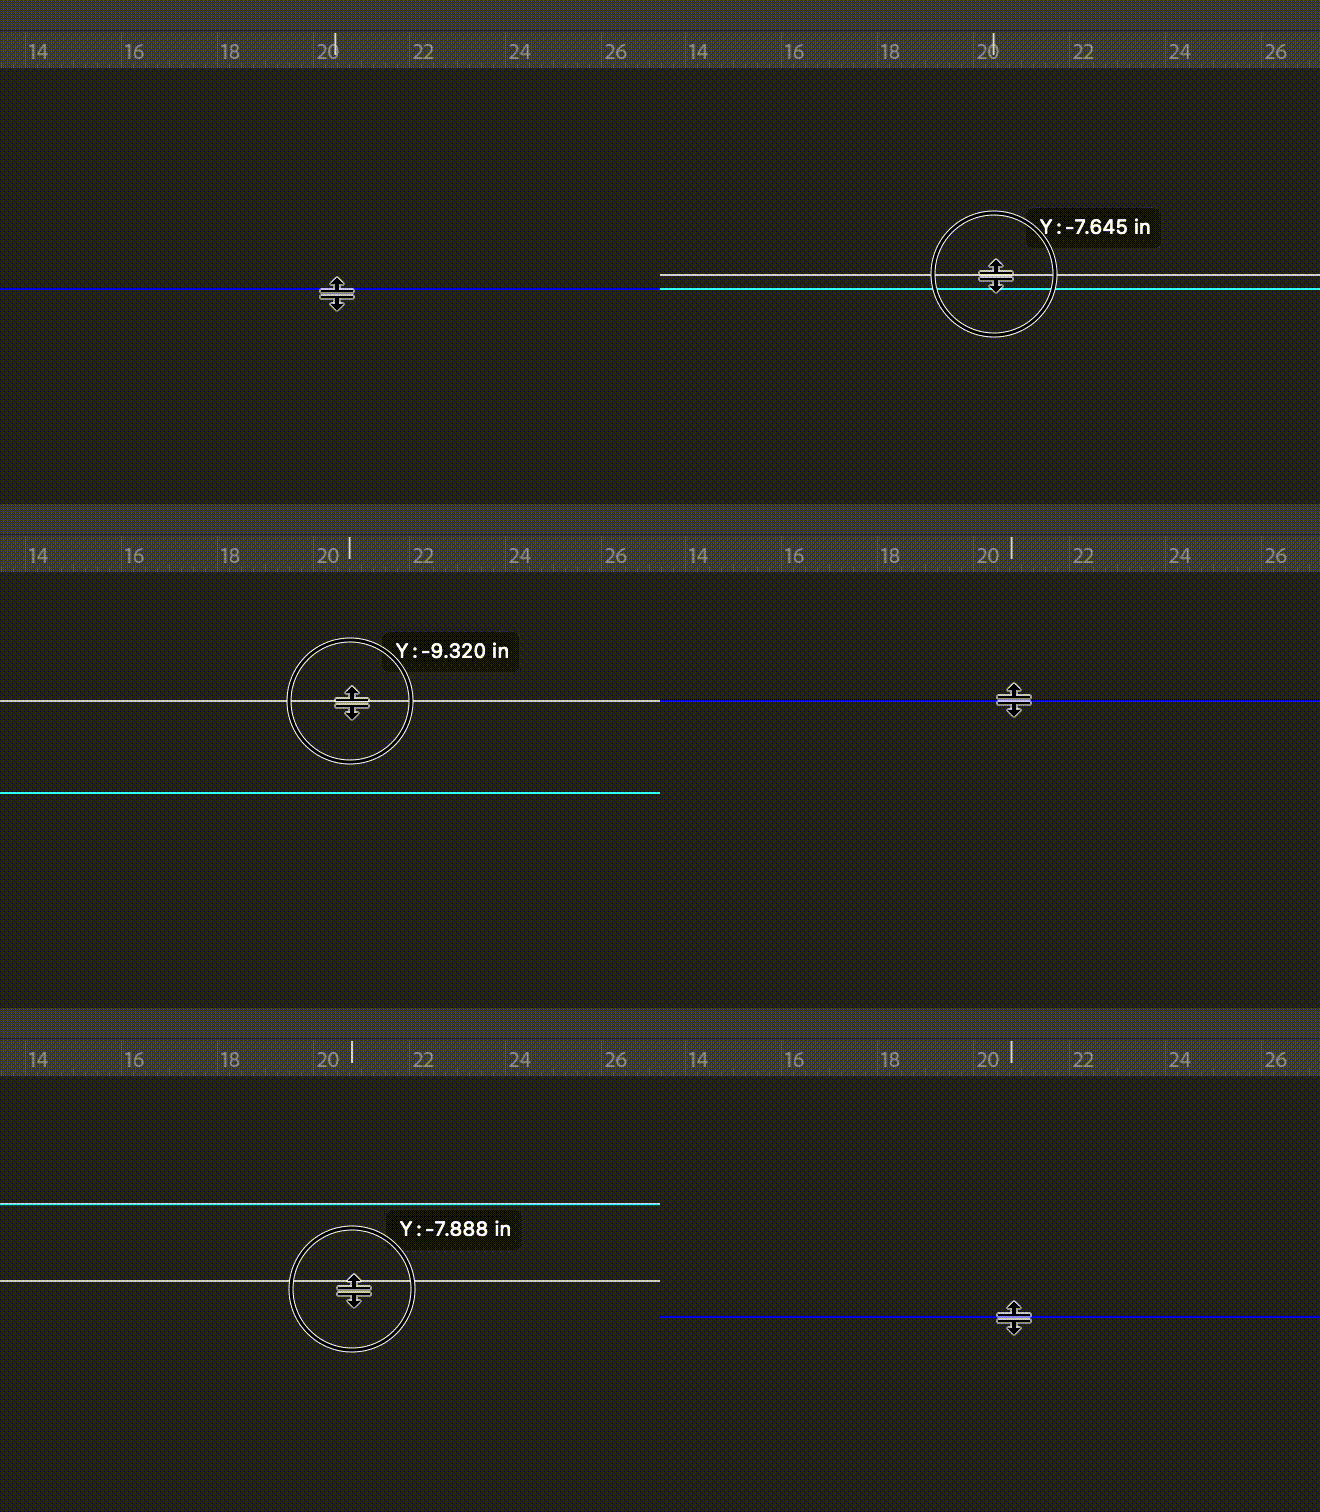
Use the move tool to adjust the position of the guides
Locking and Clearing Guidelines: Lock (
Ctrl + ;/Cmd + ;) to avoid shifts. Remove by dragging back to the ruler or clear all withAlt + Ctrl + ;(Windows) orOption + Cmd + ;(Mac).
How to edit, lock, clear, create guides in Adobe Photoshop
Utilizing Grids:
What the canvas looks like with the grid turned on
Purpose: Grids offer a structured framework, essential for maintaining consistent spacing and alignment in complex designs.
Enabling Grids:
View > Show > GridorCtrl + '(Windows) /Cmd + '(Mac).
How to show grid in Adobe Photoshop
Customizing Grids: Tailor grid settings for different projects via
Photoshop 202x > Preferences > Guides, Grid & Slices.
How to customize gird options from the Preferences window in Adobe Photoshop
How to customize gird options from the Preferences window in Adobe Photoshop
How to the appearance of the grid from the Preferences window in Adobe Photoshop
Smart Guides for Alignment:
Purpose: Smart Guides automatically appear to assist in aligning objects relative to each other, enhancing design efficiency.
Activating Smart Guides: Enable under
View > Show > Smart Guidesfor a more intuitive alignment process.
Practical Shortcuts and Tips:
Enhanced Workflow: Use these shortcuts to expedite your design process.
Snap to Guides/Grid:
Shift + Ctrl + ;(Windows) /Shift + Cmd + ;(Mac) for snapping elements to guidelines or grids.Duplicate a Guide:
Alt(Windows) /Option(Mac) + Drag a guide for duplication.Measure Distances: Combine rulers with the
Rectangular Marquee Toolfor precise measurements.
10 Shortcuts to Remember
Toggle Rulers On/Off:
Shortcut:
Ctrl + R(Windows) orCmd + R(Mac).Quickly show or hide rulers as needed without navigating through menus.
Switch Ruler Units:
Shortcut: Right-click on the ruler to change units (pixels, inches, cm).
This allows for quick adjustments to suit different project requirements.
Create a New Guide:
Shortcut:
View > New Guide.Quickly add a new horizontal or vertical guide at a specific position.
Snap to Guides:
Enable snapping by pressing
Shift + Ctrl + ;(Windows) orShift + Cmd + ;(Mac).This makes elements snap to the guidelines for precise alignment.
Lock/Unlock Guides:
Shortcut:
Ctrl + ;(Windows) orCmd + ;(Mac).Quickly lock or unlock all guides to prevent accidental movements.
Clear All Guides:
Shortcut:
Alt + Ctrl + ;(Windows) orOption + Cmd + ;(Mac).Instantly remove all guides from the canvas.
Move Tool and Guides:
With the Move Tool selected, you can drag a guide directly without needing to switch tools.
Precise Guide Placement:
When dragging a guide, hold
Shiftto snap it to the ruler marks for precise placement.
Duplicate a Guide:
Hold
Alt(Windows) orOption(Mac) and drag an existing guide to quickly create a duplicate.
Measure Distances:
Use the rulers along with the
Rectangular Marquee Toolto measure distances and areas on your canvas.
Use Cases and Applications:
Perspective Drawing:
Use Case: Creating a convincing perspective in illustrations can be challenging. Using grids can help illustrators maintain proper perspective, particularly in landscapes, cityscapes, or interior designs.
Application: Set up a grid to follow the rules of one-point or two-point perspective, helping to align elements like buildings, roads, and furniture accurately within the scene.
Panel Layouts for Comics and Storyboards:
Use Case: For comic book artists and storyboard creators, dividing the page into panels that flow logically is essential. Guidelines can be used to create evenly sized panels and ensure that text and images are well-aligned within each panel.
Application: Use horizontal and vertical guidelines to divide the page into panels, ensuring consistent margins and spacing. This helps in maintaining a clean and organized layout.
Symmetrical Artwork:
Use Case: Creating symmetrical artwork, such as mandalas or character designs, requires precise mirroring of elements. Guidelines help in achieving perfect symmetry.
Application: Place a vertical guideline at the center of the canvas to use as a reference for mirroring objects or drawing symmetric shapes.
Composition and Layout:
Use Case: Good composition is key to a visually appealing illustration. Rulers and guidelines can be used to place elements following the ‘Rule of Thirds’ or the ‘Golden Ratio’, which are popular composition techniques in art.
Application: Create guidelines corresponding to the ‘Rule of Thirds’ or ‘Golden Ratio’ to place key elements of your illustration, like the main character or focal point, at these strategic positions.
Scaling and Resizing Objects:
Use Case: When working on a complex illustration with multiple objects, maintaining consistent scale is important. Rulers help in measuring and resizing objects accurately.
Application: Use rulers to determine the size of objects in relation to each other, ensuring a cohesive and proportionally accurate composition.
Proportional Character Design:
Use Case: When designing characters, maintaining correct proportions is crucial. Rulers and guidelines assist in mapping out the character's height, width, and key features, ensuring they are proportionally accurate and consistent across different drawings.
Application: Set horizontal guidelines for key character features (eyes, nose, mouth) and vertical guidelines for symmetrical alignment, ensuring facial features are evenly spaced and aligned.
Final Tips
Practice integrating these tools into your daily workflow.
Experimentation leads to discovering the most effective settings for your projects.
Remember, these tools support your creativity and help translate your vision into precise, tangible designs.
Looking for a great Photoshop Brush Set?
About Esther Nariyoshi
Hi, I am an illustrator and digital brush creator who loves exploring all mediums. I've had the joy of collaborating with some wonderful folks, like Cloud9 Fabrics, and MSU Broad Art Museum, and sharing some tidbits of my creative process through UPPERCASE Magazine. My heart finds joy in food and nature illustrations, and I share my creative process on my YouTube Channel and teach well-designed illustration classes on Skillshare.
Portfolio | Instagram | Pinterest | Digital Brushes | 1:1 Coaching Calls
Skip hours of sifting through generalized tutorials, and enjoy a personalized learning session with a laser focus. In a 1-on-1 session, you will receive personalized instruction on how to elevate your digital illustration to the next level based on your own artistic style and preference using Procreate, Adobe Illustrator, and Photoshop, as well as your paper sketchbook.


